
Main water settings
Select the main water root in the Hierarchy to open the unified Inspector. It keeps the system preset, geometry, surface and underwater appearance, impact ripples, wakes, ambient waves, and optional modules in one place.
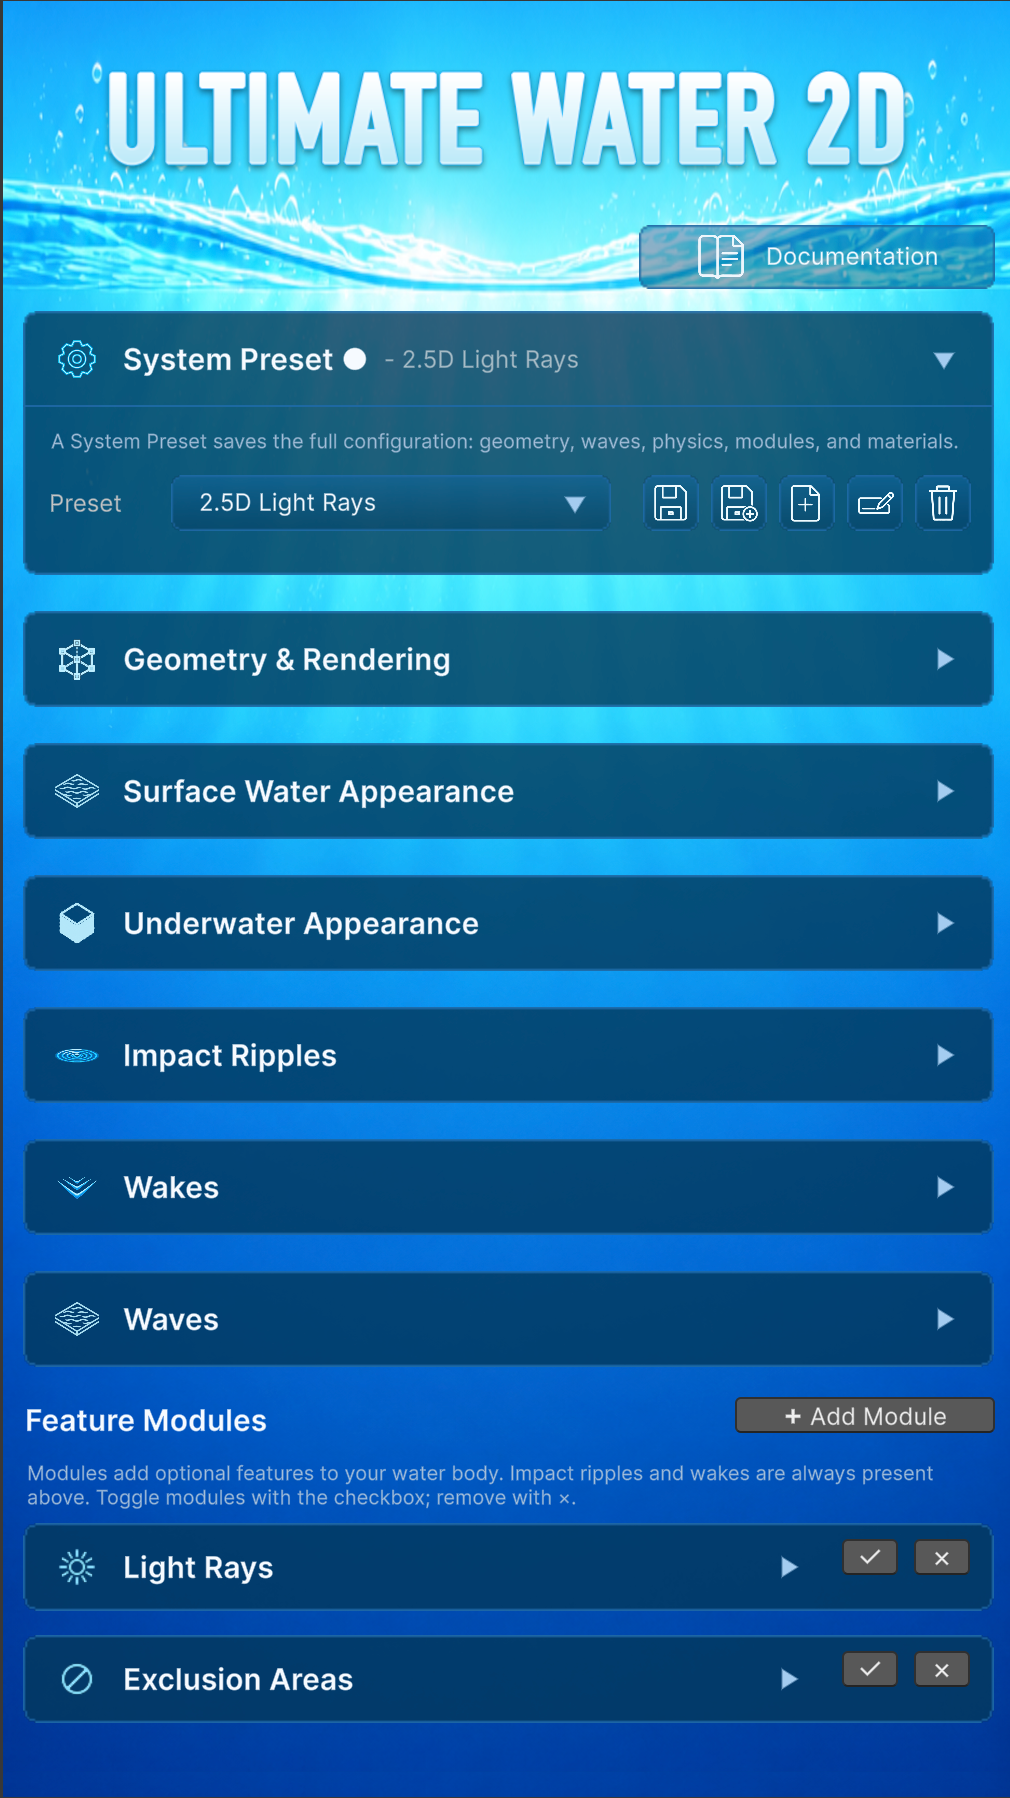
Every parameter in the custom Inspector has a tooltip. Hover a label or its help icon when you need the exact definition or valid range. This guide concentrates on the controls that most strongly change the water’s shape, motion, interaction, appearance, or runtime cost.
Shared settings for every main water body
These settings apply before the differences between 2D, 2.5D, and Fake Perspective water:
| Setting | What it changes | Practical guidance |
|---|---|---|
| System Preset | Saves the complete water configuration, including geometry, waves, interactions, modules, and materials. | Save a new preset after establishing a reusable style. Scene placement is still saved with the scene. |
| Enable Interactions | Master switch for buoyancy/current sampling, impact ripples, wake spawning, and visual ripple effects. | Disable it for decorative water that never interacts. Leave it enabled for gameplay water. |
| Width | Horizontal world-space extent. | Size it to the playable/camera-visible area plus enough margin for movement. |
| Underwater Height | Distance the underwater region extends below the waterline. | It controls how far down objects can be considered underwater; it is separate from 2.5D surface depth. |
| Base Resolution | Mesh subdivisions per unit near the camera. | Raise it only when waves or ripple silhouettes visibly need more geometry. It increases vertex and triangle cost across the base mesh. |
| Unique Materials Per Body | Gives this body independent material instances. | Enable it when multiple water bodies need different visual settings. |
| Sorting layers and orders | Drawing order for underwater, surface, and Fake Perspective renderers. | Set these deliberately when characters or scenery appear in front of the wrong water layer. |
The root transform’s Y position establishes the waterline. Width extends horizontally and Underwater Height extends downward. The visible surface geometry above or behind that line depends on the water type.
Choose the water type
| Type | Best use | Geometry and camera |
|---|---|---|
| 2D water | Side-scrollers, platformers, and scenes viewed straight on. | Orthographic XY water with a waterline and underwater region. No visible top-surface depth. |
| 2.5D water | Aquarium-style or angled side-view compositions where a perspective camera sees the top surface extending into Z. | Perspective surface mesh with width, depth, and a real far edge. |
| Fake Perspective 2D | Side-scrollers that need the impression of a receding top surface while keeping orthographic 2D gameplay. | Orthographic water plus a projected visual strip above the waterline. |
| Simple Water 2D | Decorative pools, rivers, waterfalls, and custom curved shapes that do not need the main interaction system. | Editable Bézier polygon with its own appearance, wave, reflection, sorting, and preset controls. |
2D water
Create 2D Water Body for a conventional side view. The interactive water lies on the XY plane, so the important dimensions are Width and Underwater Height. This mode is the simplest fit for platformers because the visible waterline, sensor sampling, buoyancy, entry ripples, and wakes all read naturally in the same 2D plane.
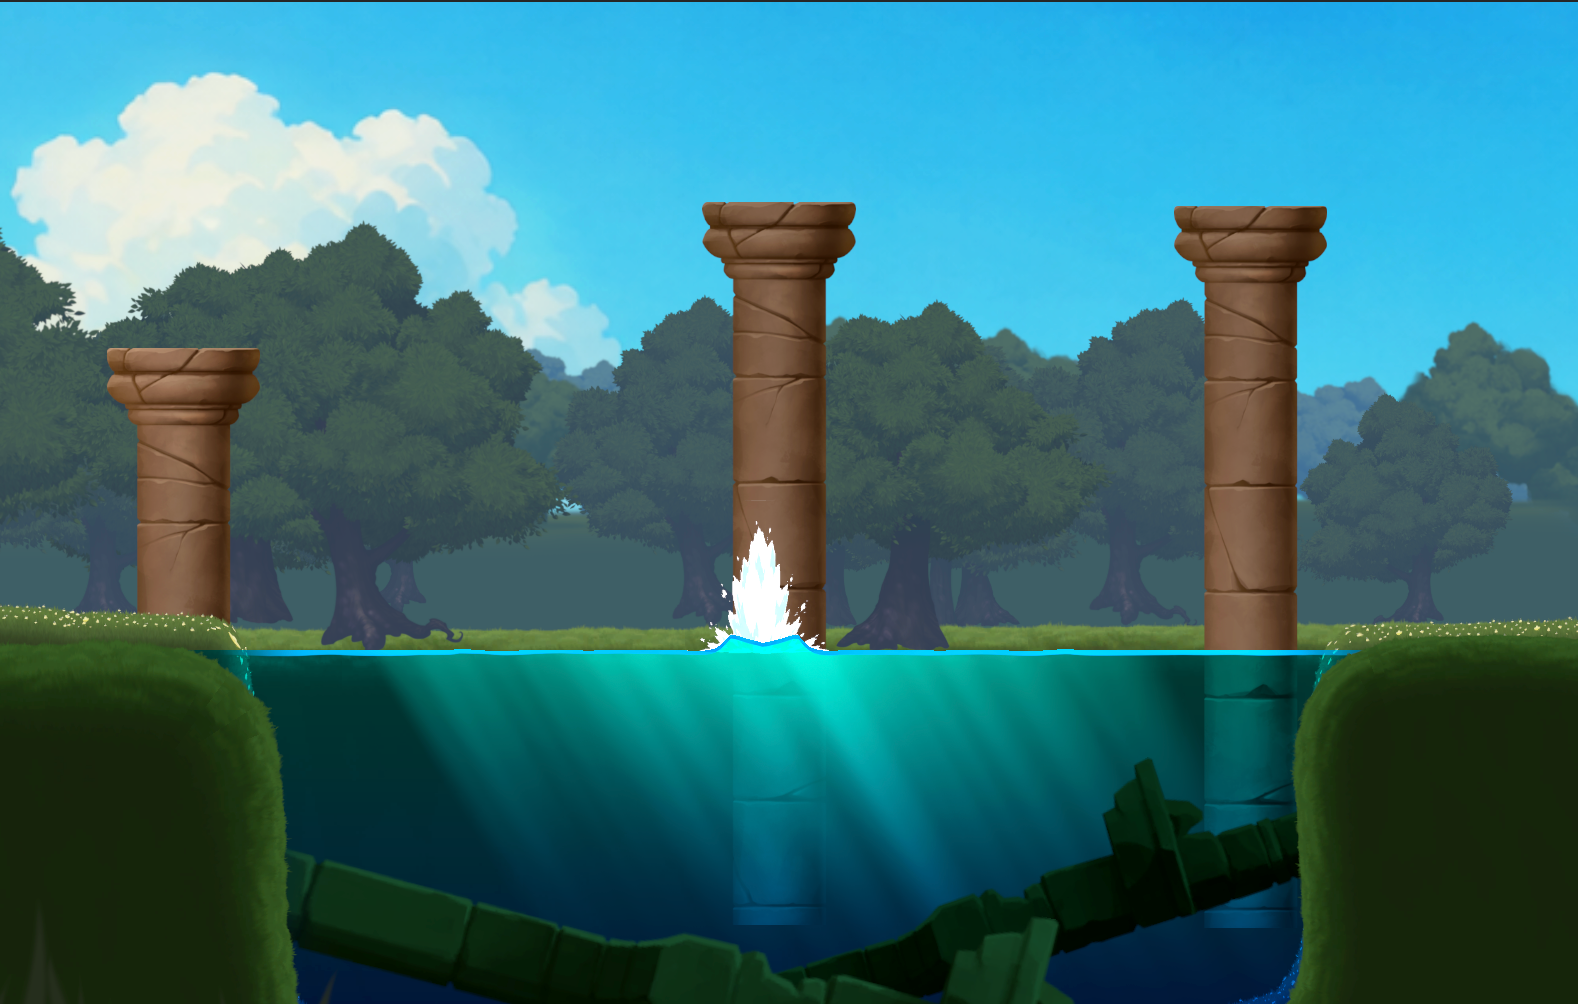
Use 2D water when the player should see the water from the side and does not need a broad top surface. Give the surface and underwater renderers different sorting layers, with the underwater layer later and higher in the render order, then tune the waterline, underwater gradient, waves, ripples, and wakes. Reflections are generally less important in this mode than in the surface-bearing modes.
2.5D water
Create a 2.5D Water Body for a scene that uses a perspective camera and combines 2D gameplay with a visible water surface extending into the background. It creates the aquarium-style view: the player and scenery remain readable from the side while a real surface stretches away from the waterline, reflects the environment, and forms a visible ceiling above the underwater volume. Use it for lakes, flooded ruins, large tanks, coastal scenes, and other compositions where the surface should have convincing depth instead of appearing as a single flat line. Depth (Z) controls how far that top surface extends into the scene, independently of the water’s width and underwater height. For an orthographic scene, use 2D Water or Fake Perspective 2D Water.
| Setting | Effect |
|---|---|
| Depth (Z) | How far the visible top surface extends back into the scene. This is surface geometry depth, not submersion depth. |
| Back Left Offset | Moves the far-left surface corner horizontally. |
| Back Right Offset | Moves the far-right surface corner horizontally. |
Use the two back offsets to form a trapezoid that follows shorelines or the scene composition. Moving both inward narrows the far edge; moving both outward widens it; changing only one skews the far edge. Because 2.5D water has real Z depth, its surface LOD, reflection capture, and underwater surface capture can cost more than a flat 2D body.
2.5D surface ZWrite and depth sorting
The 2.5D surface is a real perspective mesh and writes its visible pixels to the camera’s depth buffer through ZWrite. This lets the surface participate in depth testing so geometry behind the top plane does not incorrectly draw through nearer water. It is especially important when the surface extends far into Z and overlaps 3D scenery at several depths.
Keep ZWrite enabled on the supplied 2.5D surface shader. Turning it off on a custom material can make distant geometry, overlapping transparent effects, or the far part of the water appear in the wrong order. With ZWrite enabled, an object physically behind the surface can be hidden by the depth buffer even if its SpriteRenderer uses a later sorting layer. Place objects that must sit above the water on the camera-facing side of the surface, and use sorting layers to organize 2D composition rather than trying to override an incorrect 3D position.
Fake Perspective 2D
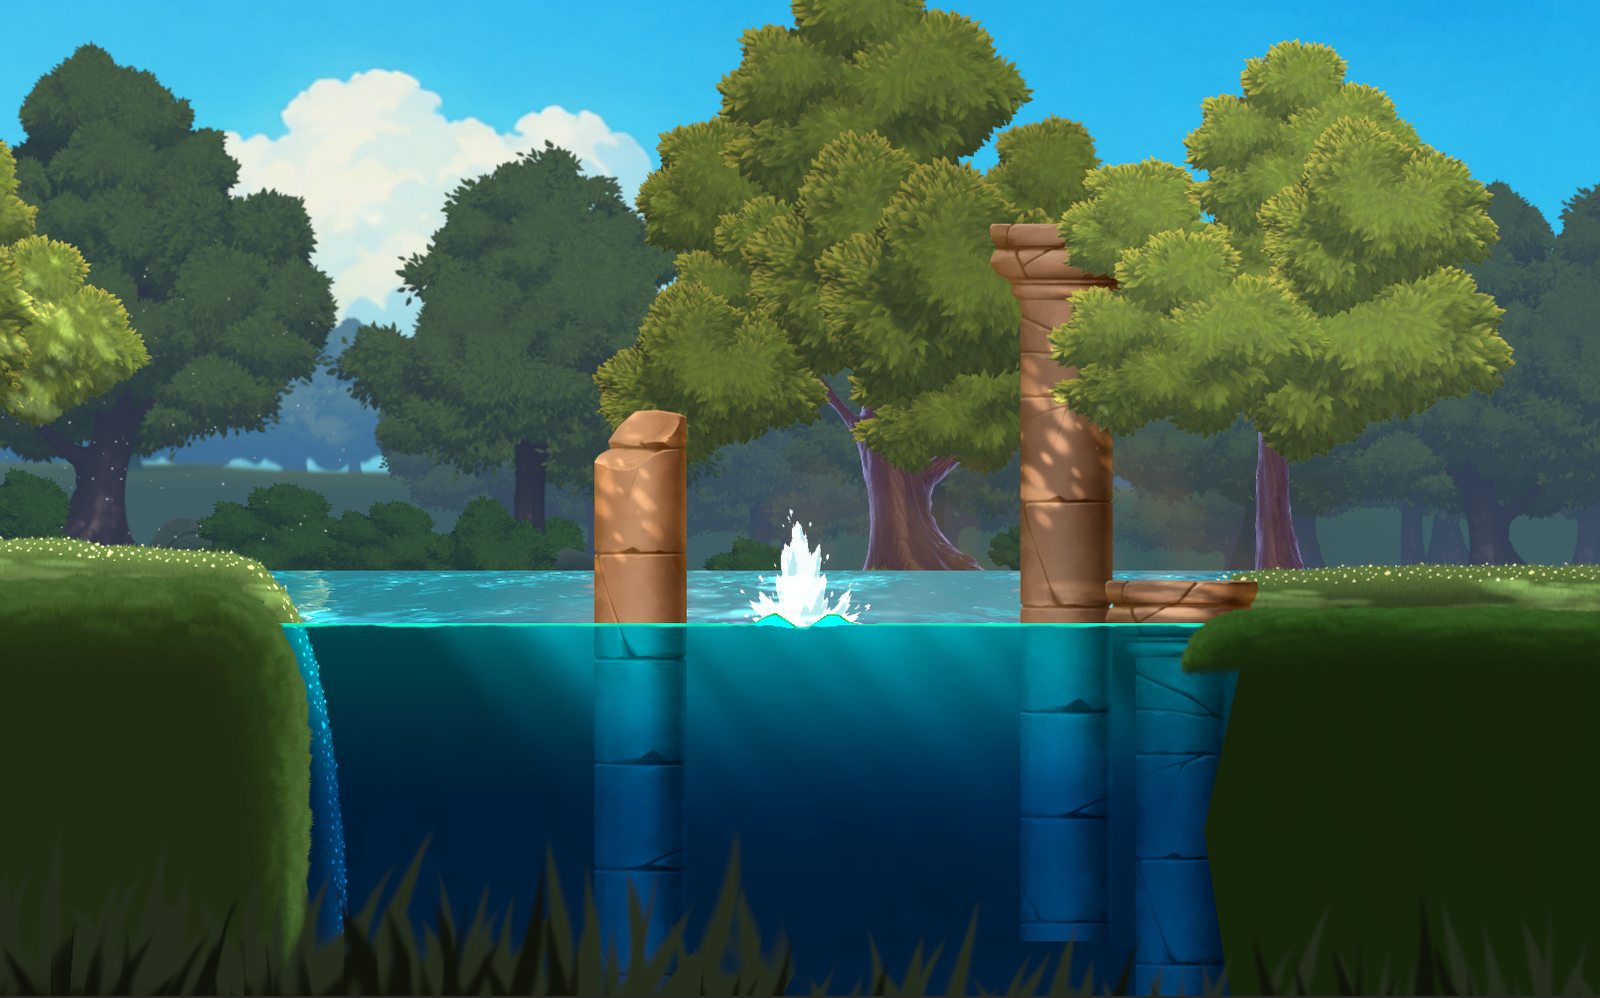
Create Fake Perspective 2D Water when the game should remain orthographic but the art needs a visible top plane. This mode adds a billboard-like strip above the waterline and projects the surface pattern so it appears to recede. Gameplay interaction remains based on the orthographic water body; the strip is the presentation layer.
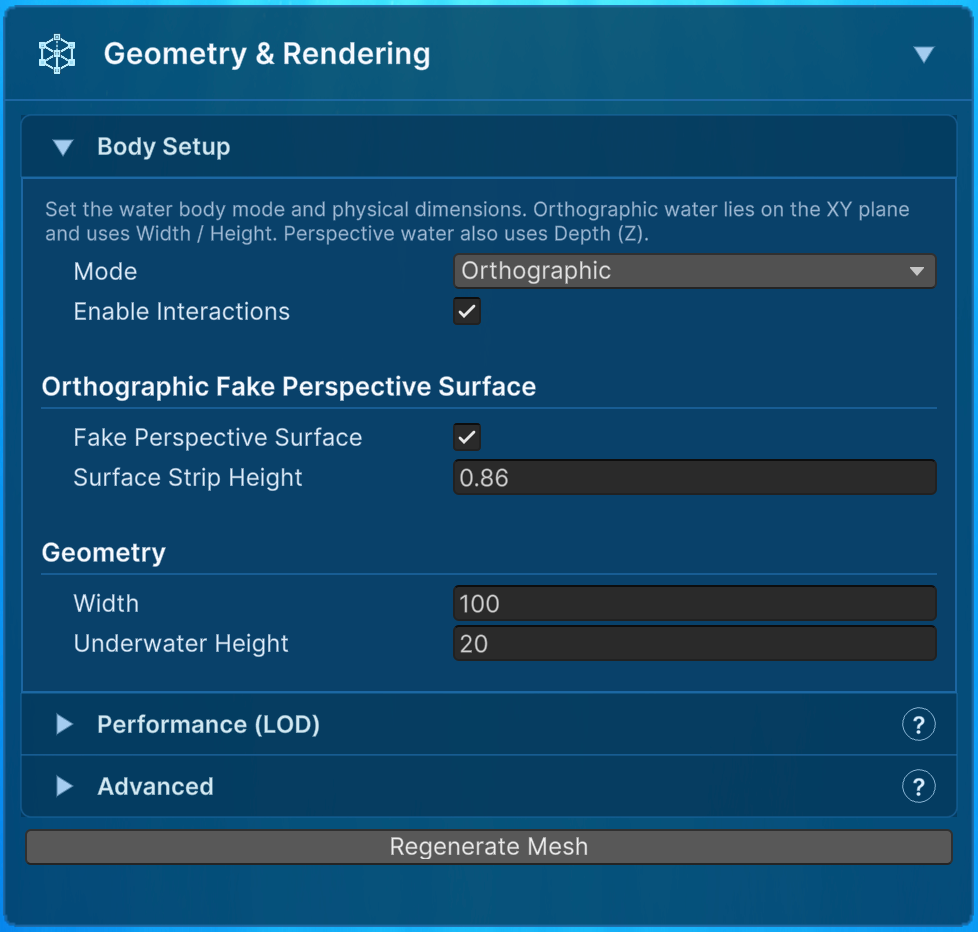
| Geometry setting | Effect |
|---|---|
| Fake Perspective Surface | Enables or removes the projected surface strip. |
| Surface Strip Height | World-space distance from the waterline to the top of the strip. Increase it to show more apparent surface depth. |
| Width | Horizontal span shared with the main water body. |
| Underwater Height | Depth of the interactive underwater region below the waterline. It does not control the strip’s apparent perspective. |
Open Surface Water Appearance → Perspective to align the projection with the camera and artwork.
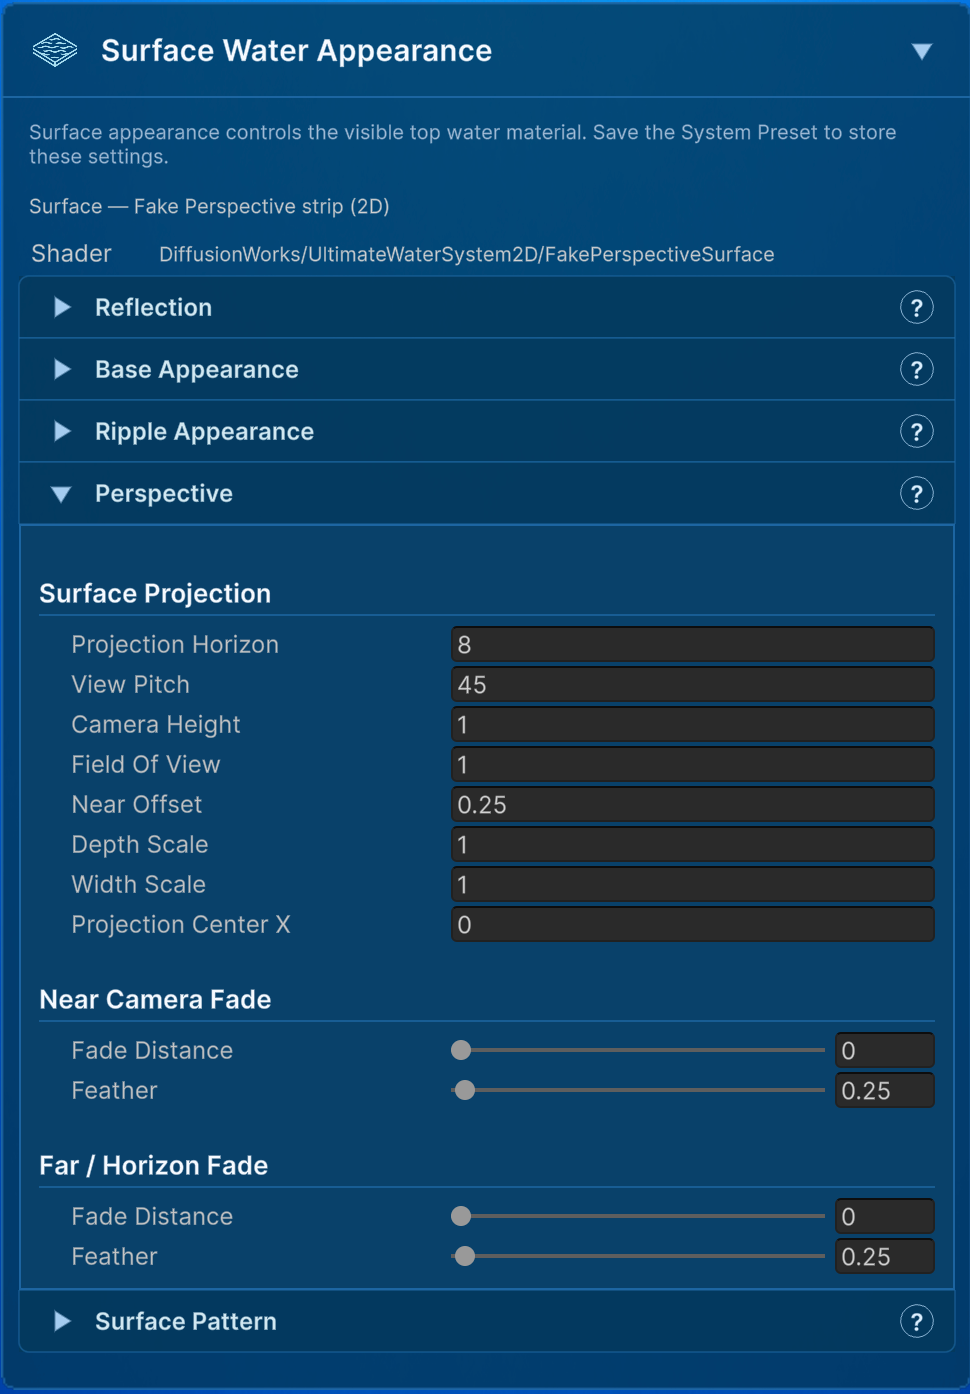
| Perspective setting | What it controls |
|---|---|
| Projection Horizon | Object-space height where the pattern remains visible before the horizon fade. Put it at or above the strip top to fill the full strip. |
| View Pitch | Simulated camera pitch. Lower values produce a grazing view with stronger compression; higher values use a steeper viewing angle and reveal more of the projected surface. |
| Camera Height | Simulated viewer height above the projected plane. Higher values soften the near-to-far compression. |
| Field Of View | Projection width/strength. Higher values exaggerate the difference between the near and far pattern. |
| Near Offset | Moves the sampled plane toward or away from the viewer at the waterline. Use it to align the first visible pattern row. |
| Depth Scale | Overall scale along the projected depth before pattern and texture sizing. It stretches or compresses the pattern into the distance. |
| Width Scale | Horizontal convergence toward the projection center. 0 keeps the vanishing point effectively infinitely far away; higher values add stronger convergence. |
| Projection Center X | Horizontal vanishing-center offset. Keep 0 for the object’s center, or move it toward the composition’s visual vanishing point. |
| Near Fade Distance / Feather | Hides or softens the pattern near the camera-side edge. A distance of 0 disables this fade. |
| Far Fade Distance / Feather | Fades the pattern toward the horizon. A distance of 0 disables this fade. |
Start with Surface Strip Height, Projection Horizon, and View Pitch. Then tune Camera Height and Field Of View until the pattern agrees with the scene. Use Depth Scale for pattern stretching and Width Scale / Projection Center X only when the art needs horizontal convergence. Finish with the near and far fades to hide hard projection boundaries.
The projection changes how the strip looks; it does not rotate the gameplay plane or change how WaterSensor2D, buoyancy, or currents sample the water.
Simple Water 2D
Choose Simple Water 2D for a custom filled polygon instead of a rectangular interactive water body. Its Bézier points can form curved pools, canals, waterfalls, shoreline pieces, or other decorative water shapes. It has independent material appearance, top and bottom waves, reflections, sorting, and reusable Simple Water presets.
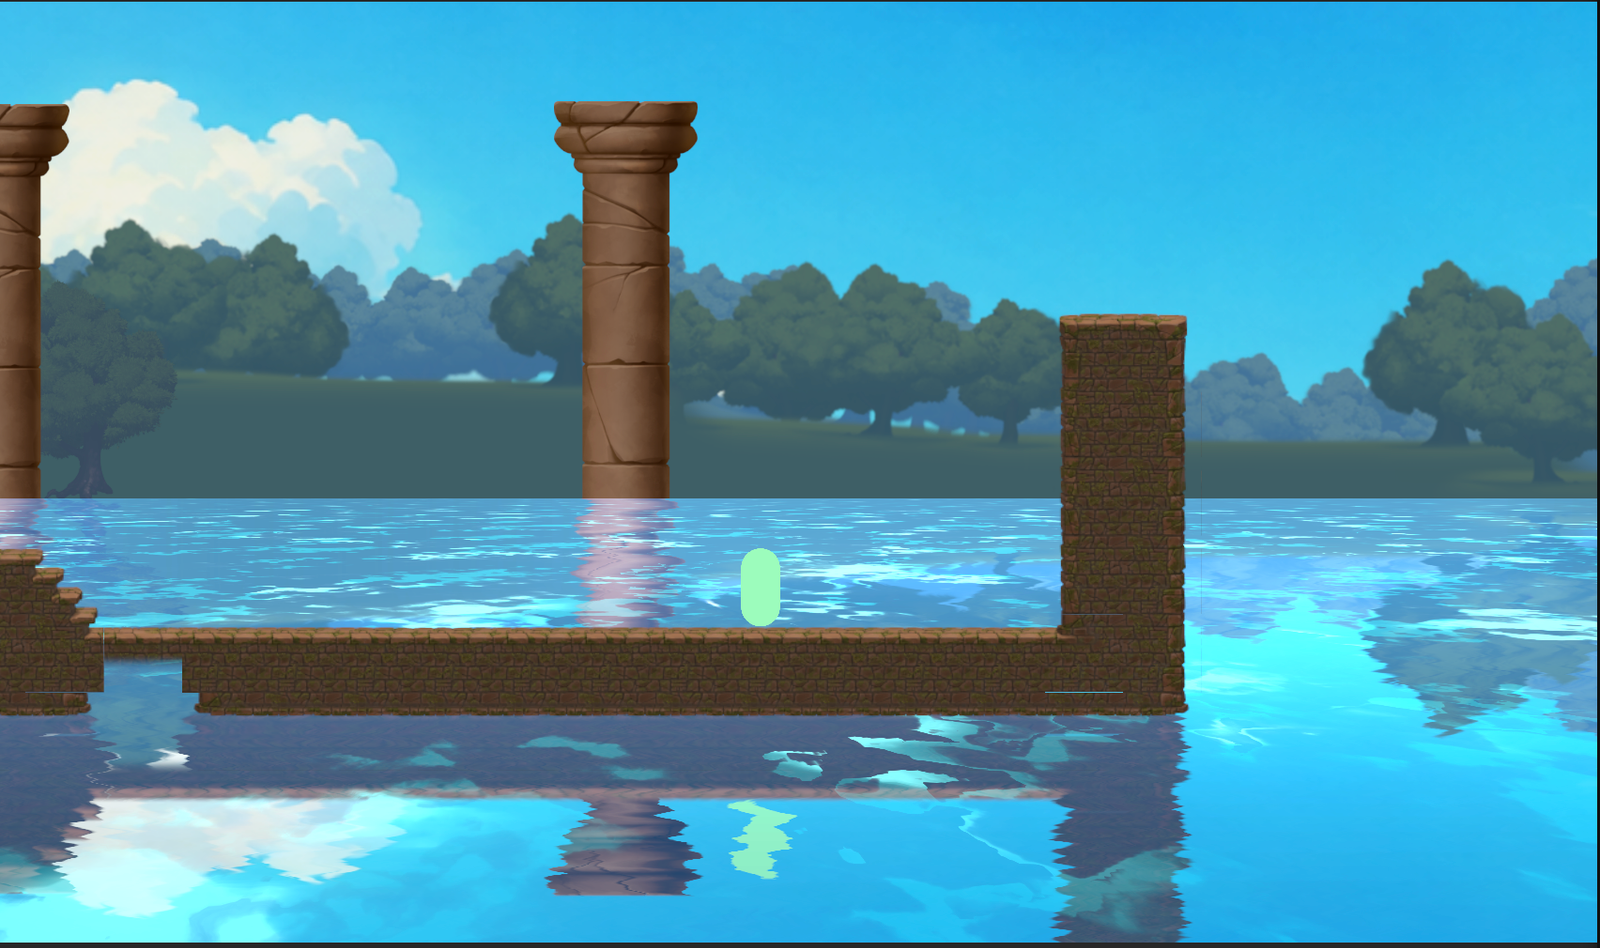
Simple Water is currently a visual authoring tool. It does not yet provide the main water body’s sensor, buoyancy, currents, impact-ripple, or wake integration. Gameplay interactions for Simple Water 2D are planned for an upcoming update. Until then, use one of the three main water types when objects or characters must interact with the water; use Simple Water when shape control and presentation are the priority.
Mesh LOD and ripple patch smoothing
The Performance (LOD) section controls base geometry. 2.5D water additionally uses distance bands and horizontal growth so cells become larger farther from the camera. The Inspector shows an estimated surface vertex and triangle count. Leave the preset defaults until a visible artifact or measured performance issue gives you a reason to change them.
Ripple Patch Smoothing concentrates extra subdivisions around active ripple zones instead of increasing the resolution of the entire water mesh. It improves the silhouette of small impact ripples and wakes on a coarse or wide mesh.
| Patch setting | Effect and cost |
|---|---|
| Ripple Patch Smoothing | Enables localized high-detail zones. Disable it to compare the same water against the base LOD mesh. |
| Runtime Patch Rebuilds | Lets active ripples and wakes rebuild those zones during Play mode. This gives moving ripple zones smoother geometry but adds CPU and mesh-rebuild work. |
| Runtime Patch Refresh | Maximum localized rebuilds per second. Lower it when wake bursts cause frequent geometry work. |
| Max Runtime Patch Zones | Maximum active ripple zones considered for smoothing. Lower this before allowing many overlapping wakes to rebuild the mesh. |
| Patch Smoothness | Subdivision multiplier inside an active zone. Raise it gradually; it directly increases localized geometry. |
| Max Patch Segments | Hard segment budget that prevents very wide water from generating excessive patch geometry. |
| Patch Padding | Extra world-space margin around the ripple’s travel area. Increase it only if deformation reaches the edge of a refined patch. |
Patch smoothing affects the deformation mesh, not foam texture quality. If foam looks coarse, adjust the material mask controls. If ripple motion is smooth but the waterline silhouette is angular, adjust mesh resolution or patch smoothing. For busy wake scenes, first limit visible wakes and runtime patch zones before raising patch detail.
Adding optional features
Use Add Module in the water Inspector to add Water Current, Exclusion Areas, Random Ripples, Floating Debris, Floating Props, or Light Rays. Configure the module in the same Inspector. Use its enable control to compare the effect before and after changes.
Modules that create zones or individual decorations provide their own lists and selection tools. Edit the selected current or exclusion zone in its dedicated Inspector and Scene handles.