Exclusion Areas
What an exclusion area does
Use Exclusion Areas to cut one or more shaped regions out of a main water body. A zone removes the owning water’s visible underwater region in that shape and tells its WaterPhysics sampling that the same area contains no water from that owner.
Typical uses include:
- A cave, tunnel, room, or air pocket inside a larger body of water.
- Dry scenery that overlaps the rectangular underwater mesh.
- An island or irregular opening that should not report submersion.
- A cutout that contains a separate water body with its own height, style, or behavior.
The Exclusion Areas module is the manager. It creates, lists, enables, selects, and deletes standalone zone child objects. Each zone belongs to one specific main water body. That ownership matters: excluding the outer water does not automatically exclude a different water body placed in the same region.
The zone affects water sampling and interactions for its owner. Sensors, buoyancy, current sampling, water-height queries, and ripple placement can reject excluded points or colliders. The zone is not a solid wall, so add ordinary gameplay colliders when characters or physics objects must collide with the cave, island, or container boundary.
Create and shape a zone
- Select the main water body and choose Add Module → Exclusion Areas.
- Click Add Exclusion Area. The new child is automatically assigned to that water body and selected.
- Position the zone in the Scene view and choose Box, Oval, or Polygon.
- Fit the shape to the region where the owner’s water should be absent.
- Enter Play mode and test the boundary with the actual character, buoyant object, or sensor.
| Shape setting | Purpose |
|---|---|
| Shape Type | Box for rectangular spaces, Oval for rounded openings, or Polygon for an irregular outline. |
| Shape Offset | Moves the editable shape relative to the zone object’s transform without moving the object itself. |
| Box Size / Oval Size | Width and height of the selected primitive shape. |
| Oval Segments | Curvature resolution for an oval. Increase it only if the edge looks visibly faceted. |
| Polygon Points | Local outline of a custom zone. Double-click an edge to insert a point and Shift-click a point to remove it. A polygon keeps at least three points. |
Use a Box while blocking out the scene, then switch to Polygon only when the cutout must follow art or terrain. Keep polygons as simple as the required silhouette allows.
Mask edge and sorting
The zone uses a generated visual mask to remove the owning underwater renderer. Fade Width adds a transparent contour outside the solid inner mask so the cutout does not end with an unnaturally hard edge. Miter Limit limits how far the expanded contour can extend at sharp polygon corners; reduce it when pointed corners create long spikes.
The mask must render relative to the underwater renderer. Use Owner Underwater Sorting copies a safe sorting layer and places the zone immediately above its owner’s underwater renderer. Use this first, then change Sorting Layer, Sorting Order, or Tint only for a deliberate custom composition.
Show Unselected Gizmos keeps faint previews visible while another object is selected. Each zone also has Show Shape Gizmo. Auto Refresh rebuilds the collider and visual mesh when the shape changes. If a script changes geometry while Auto Refresh is disabled, call RefreshAll() afterward.
Fade Width belongs to the exclusion mask. It softens the outer water’s cutout contour. It is different from Underwater Appearance → Edge Fade, which fades the sides and bottom of an entire water body.
Put a separate 2D water body inside a cutout
An exclusion zone can hold another water body because it only excludes its owner. This is useful when a large 2.5D lake contains a smaller side-view pool, cave channel, or waterfall section.
- Create the exclusion zone on the large outer water body and shape it around the opening.
- Create a separate 2D Water Body and place it inside the cutout. Give it the width, waterline, underwater height, appearance, and interaction settings required for that local area.
- On the inner 2D water, open Underwater Appearance → Edge Fade and enable it.
- Increase Left / Right Feather until the inner water’s vertical sides blend into the exclusion opening. Increase Bottom Feather when its lower boundary should dissolve instead of ending as a visible rectangle.
- Tune the exclusion zone’s Fade Width separately so the outer 2.5D water also transitions cleanly around the cutout.
- Check sorting, then test sensors and buoyancy at the center and boundaries. The outer water should be rejected inside its exclusion while the inner 2D body remains active.
Edge Fade does not create the inner water, and the exclusion zone does not copy settings from another water body. This setup combines a cutout in the outer water with a second, independently configured water body. A small overlap between their softened visual edges can hide seams, but test sensors and buoyancy where the two water areas meet.
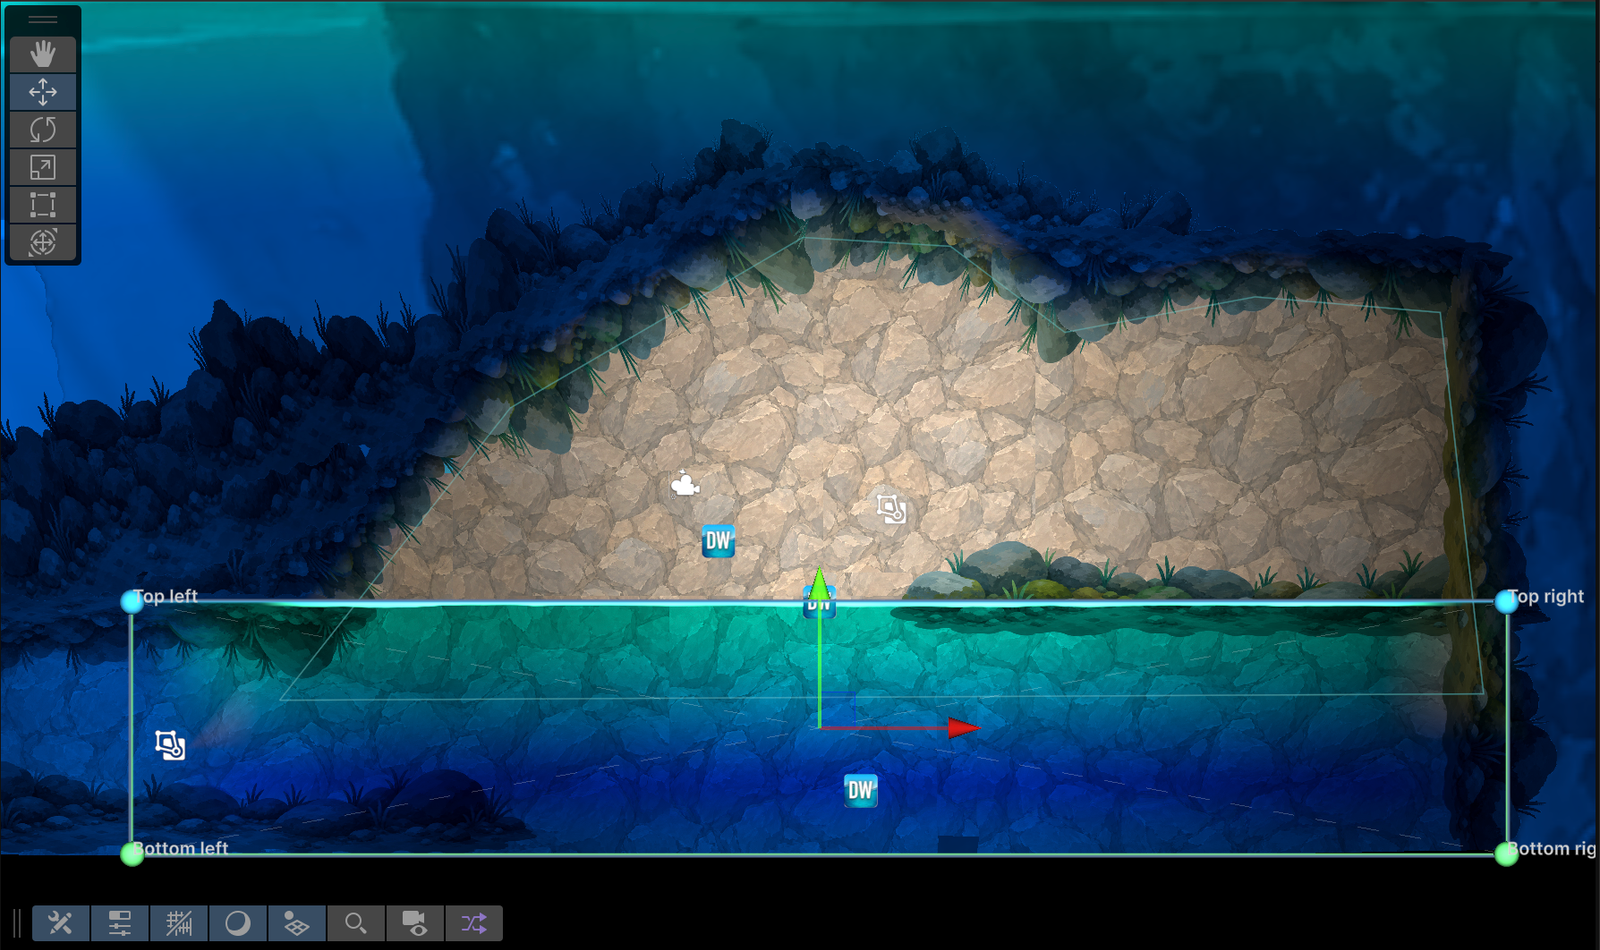
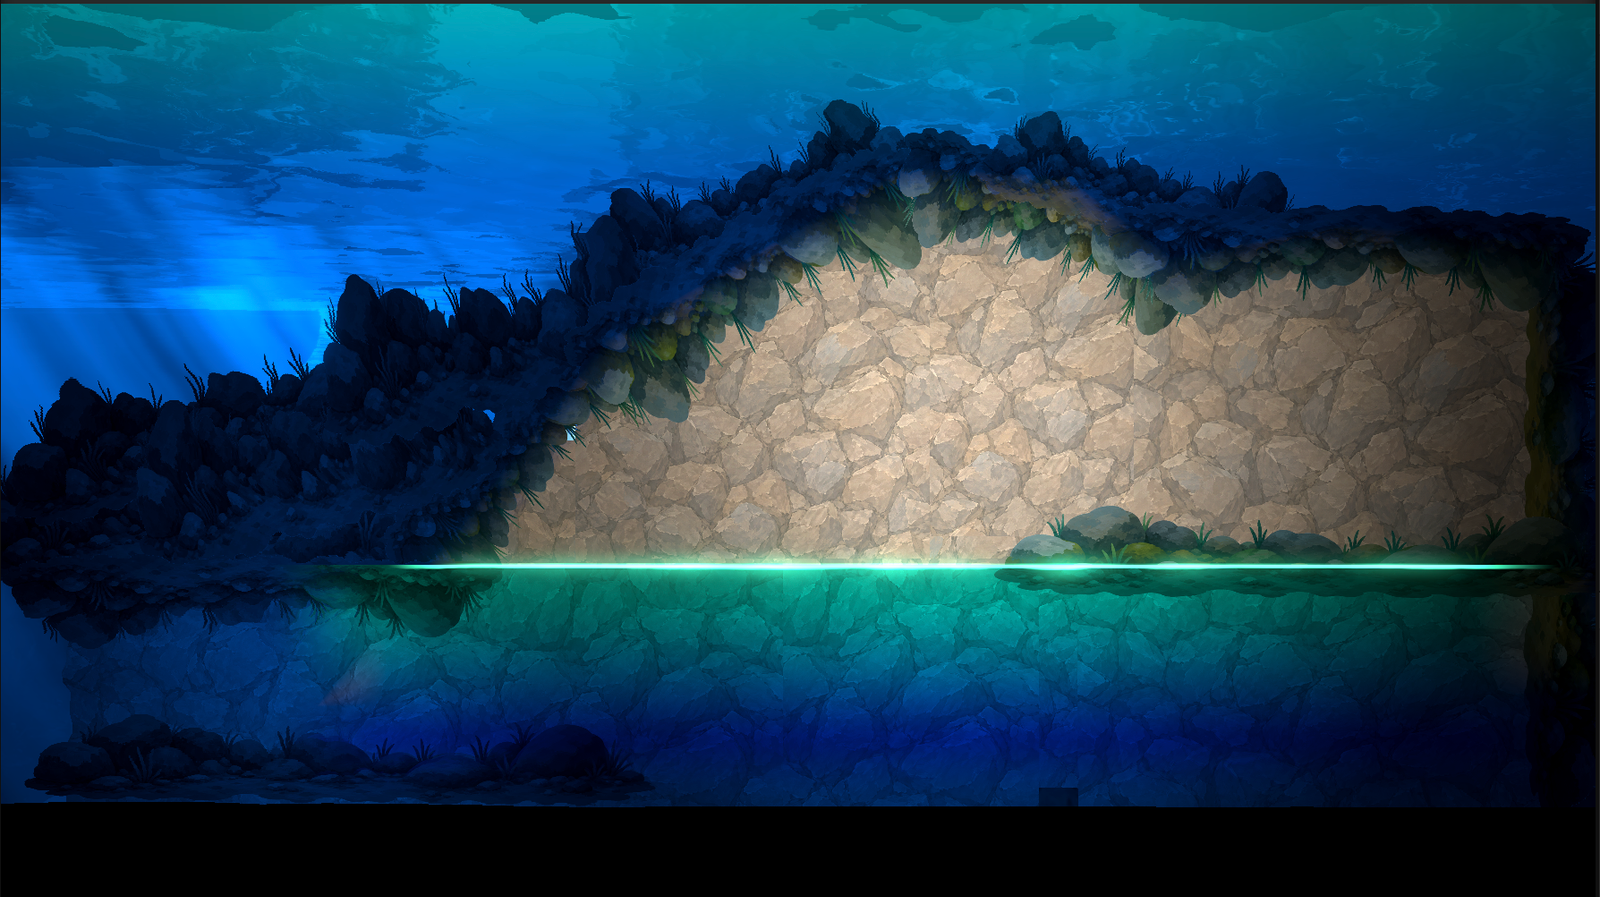
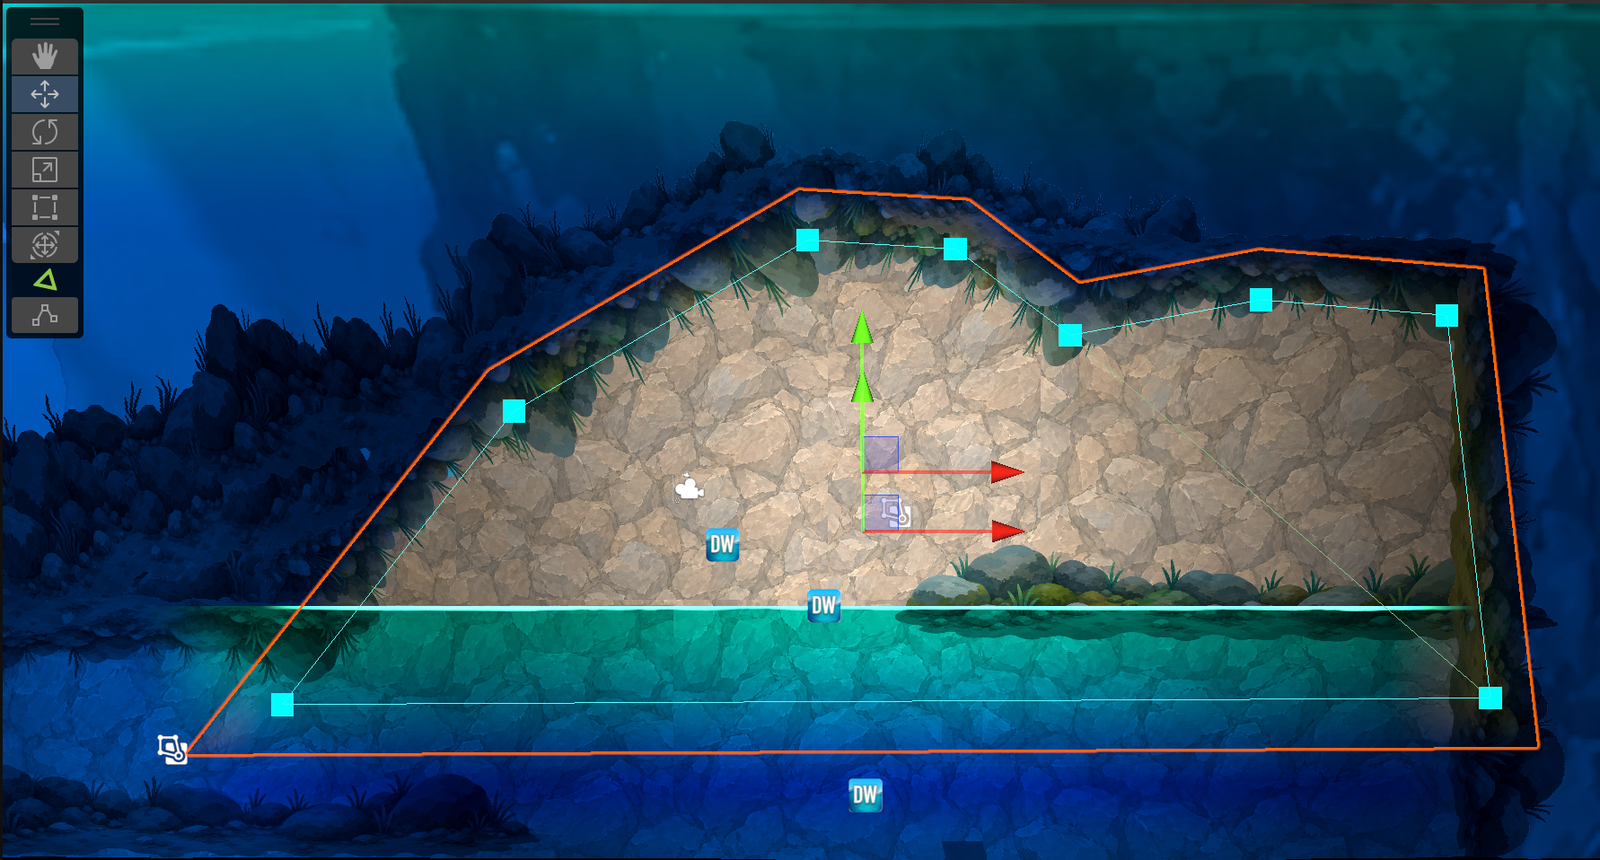
Open the imported Main 2.5D sample scene for a complete example. Its main water owns a polygon exclusion zone, while a separate 2D water body fills the cutout. The inner water enables Underwater Edge Fade so its sides and bottom blend into the surrounding composition instead of exposing a hard rectangular underwater mesh.
The first Scene view below shows the polygon exclusion zone following the cave silhouette. Its owner is the surrounding 2.5D water, so samples inside that polygon are considered dry for the outer water body.
The second Scene view shows the independent 2D water body placed across the lower part of the opening. Its own waterline, underwater height, interactions, and Edge Fade remain separate from the outer water.